One of the great things about SmartThings is how easy it is to develop for and how active the development community is. Users can create SmartApps for specific scenarios, and then use those SmartApps multiple times in their SmartThings environment as needed. Unfortunately, there isn’t an “app store” type concept within SmartThings. Unless a SmartApp has been officially published through SmartThings, each user has to create their own app with the SmartApp code. In other words, everyone has their own unique copy of the SmartApp, rather than one shared app code base. This is great if you want to make changes to existing apps, but adds extra complexity for regular usage and can lead to maintenance issues down the road (though I haven’t seen any examples yet of the SmartThings platform breaking older versions of apps). Ultimately for regular users this can be frustrating – there are a lot of great SmartApps created by the community, but it is not so simple to get them up and running on your SmartThings hub. This guide is an attempt to demystify the SmartApps process a little bit.
Add a SmartApp to SmartThings
Access to My SmartApps is all controlled through the development website for SmartThings, https://graph.api.smartthings.com/. If you already have SmartThings configured, you can use your existing login at the site. However, you will need to enable access to the development environment once logged in, or you will not see all of the options available. After logging in to the website, select the My SmartApps menu link. Once that page loads you will see any SmartApps you have created, as well as a button: + New SmartApp.
For this guide we will be adding an existing community app named “Big Switch for Hello Home Phrases”. This app allows you to use a virtual or physical SmartThings switch to run a Hello Home Phrase. Hello Home Phrases allows actions and mode changes, like Home to Away or Night to Home.
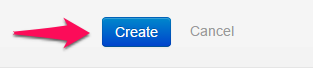
Click the +New SmartApp button. It will ask you to enter some information about your app, add the basic required data in (app name, author, app description) but don’t worry about the rest of the data as it will be replaced by the next step. When finished, select the Create button at the bottom of the screen.

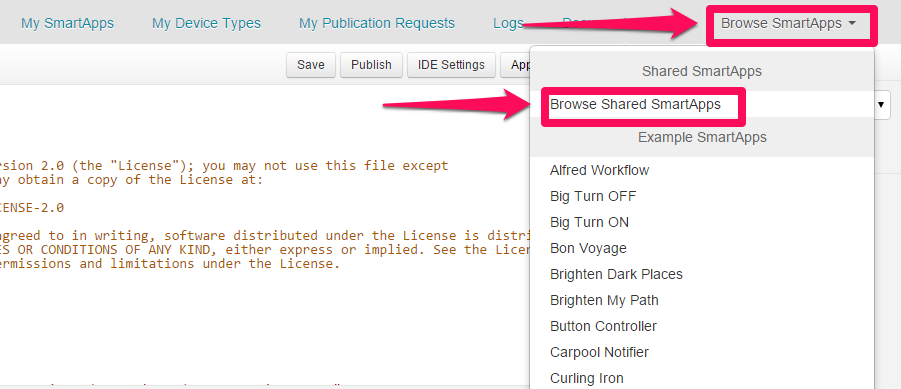
After the app has been created, you will be looking at a code view of the app which was just created. Don’t worry, there is no coding needed. In the top right corner of the screen there is now a drop-down named Browse SmartApps, select it and then Browse SmartApps again.
You will now see a large list of preconfigured Community SmartApps. Find the Big Switch for Hello Home Phrases under the Convenience group and select it. You will now see an Overwrite button in the lower right.
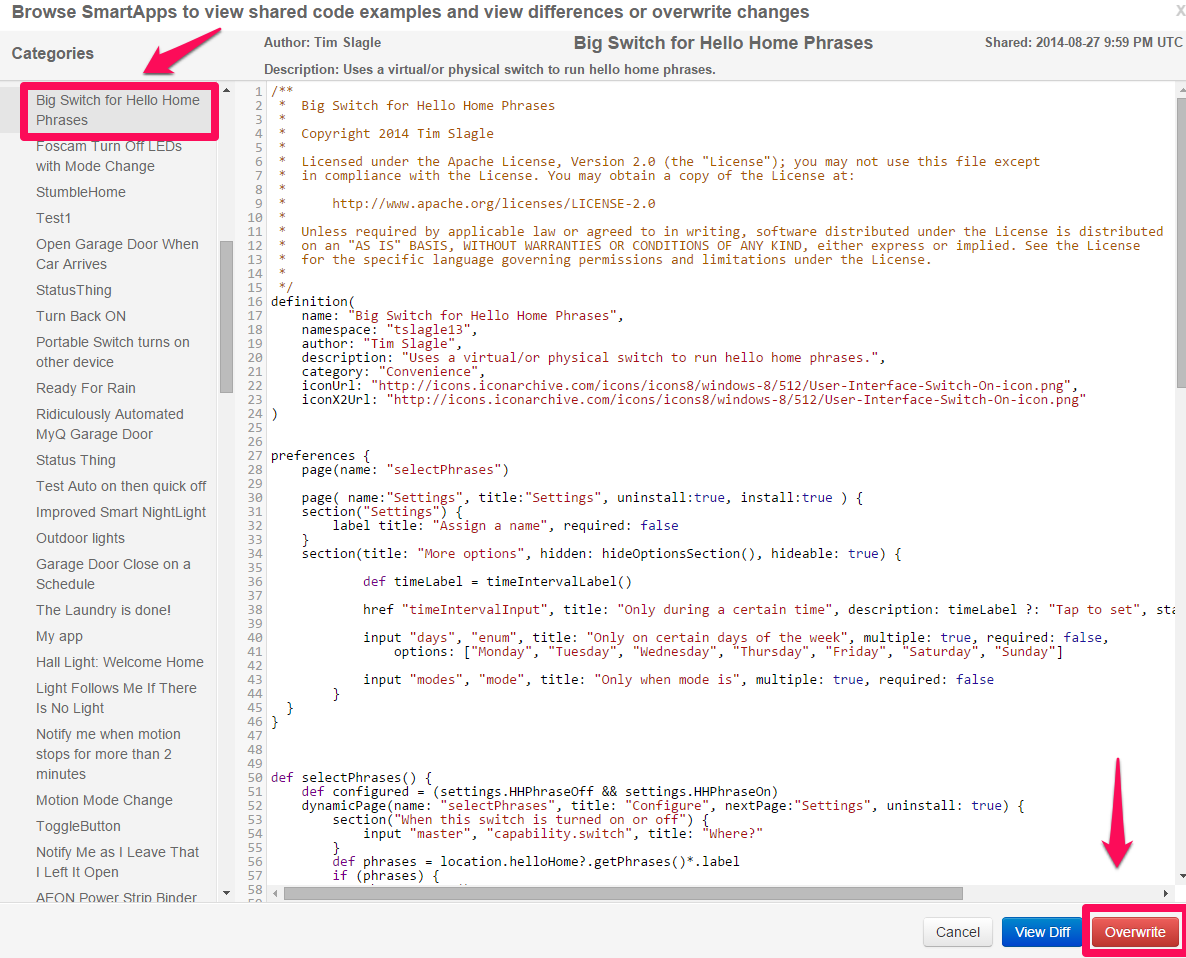
Select that Overwrite button and you will see the code from the SmartApp appear in your version of the app. Next, select Save, and then Publish, For Me. A green success message should appear “SmartApp published successfully for me”. The SmartApp is now published and ready to be installed & used in your SmartThings environment.
Installing & Using the SmartApp
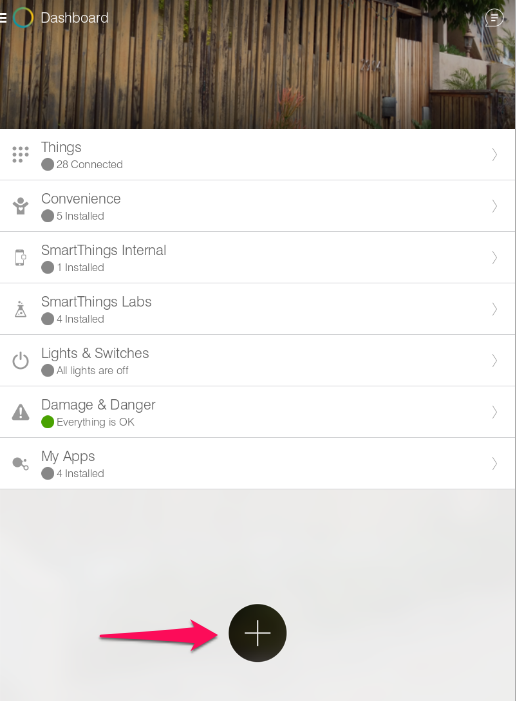
Now that the SmartApp has been published, it can be installed and configured. SmartApps are added via the SmartSetup, which is started with the large + icon on in the app.
After the SmartSetup screen loads, swipe to the right until you see the My Apps category. There you should see the app which was just published. One key thing to note – I wasn’t able to figure out why the My Apps category wouldn’t show up under SmartSetup the first time I tried this. I had to log out of the app, and then back in again before My Apps would appear – simply relaunching and refreshing the app was not enough.
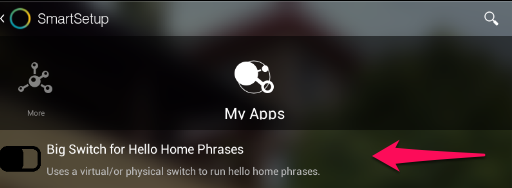
When you select the app from My Apps it will launch the configuration & installation screen for the app. There you can configure all of the available options and save your settings.
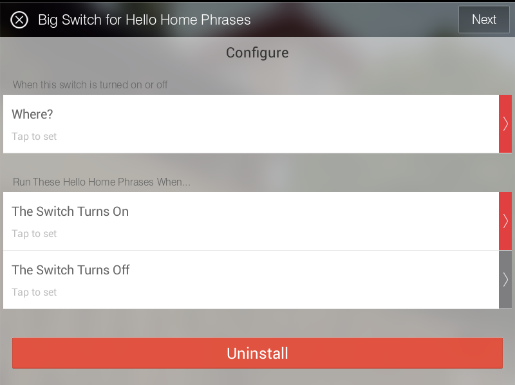
Once configuration has been saved, the app will typically show up under the “Convenience” section of the main SmartThings app, where it can be further configured or uninstalled.